The Advanced Custom Fields Copilot plugin enhances your WordPress development process with AI-powered tools like Code Snippets and the AI Field Generator. These features streamline your workflow, saving time and ensuring best practices. To unlock them, you’ll need to register and configure an OpenAI API access key. This step-by-step guide walks you through the process of registering for the OpenAI API and integrating it with the plugin.
Why Use OpenAI API with Advanced Custom Fields Copilot?
Advanced Custom Fields (ACF) Copilot provides developers with tools to simplify and automate tasks, such as:
- AI-Powered Code Snippets: Instantly generate code snippets to customize your ACF fields. Save time and ensure best practices.
- AI Field Generator: Automatically create tailored field groups that align with your project requirements.
By connecting the plugin to the OpenAI API, these AI-driven features can operate seamlessly and enhance your workflow.
Register for OpenAI API Access
To get started with the OpenAI API, follow these steps:
Visit OpenAI’s Website
Head to the OpenAI API registration page.
Create an Account
If you don’t already have an account, click on Sign Up and follow the instructions. You can sign up using your email, Google account, or Microsoft account.
Access Your API Keys

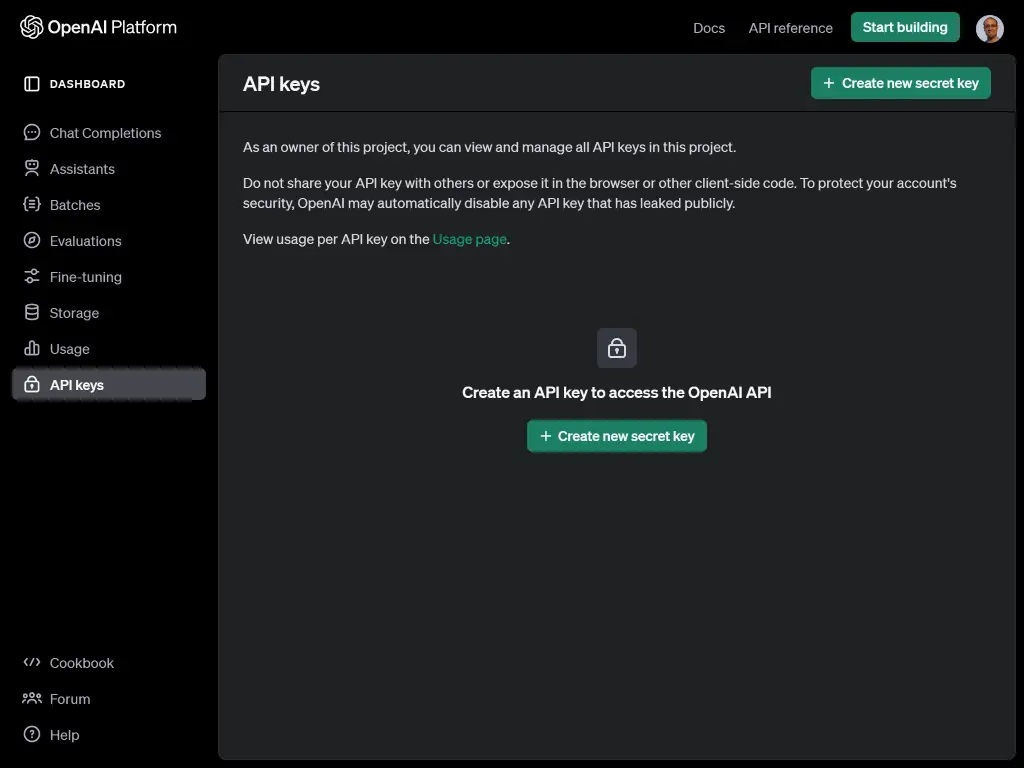
Once logged in, navigate to the API Keys section in your account settings. Here you can generate a new API key:
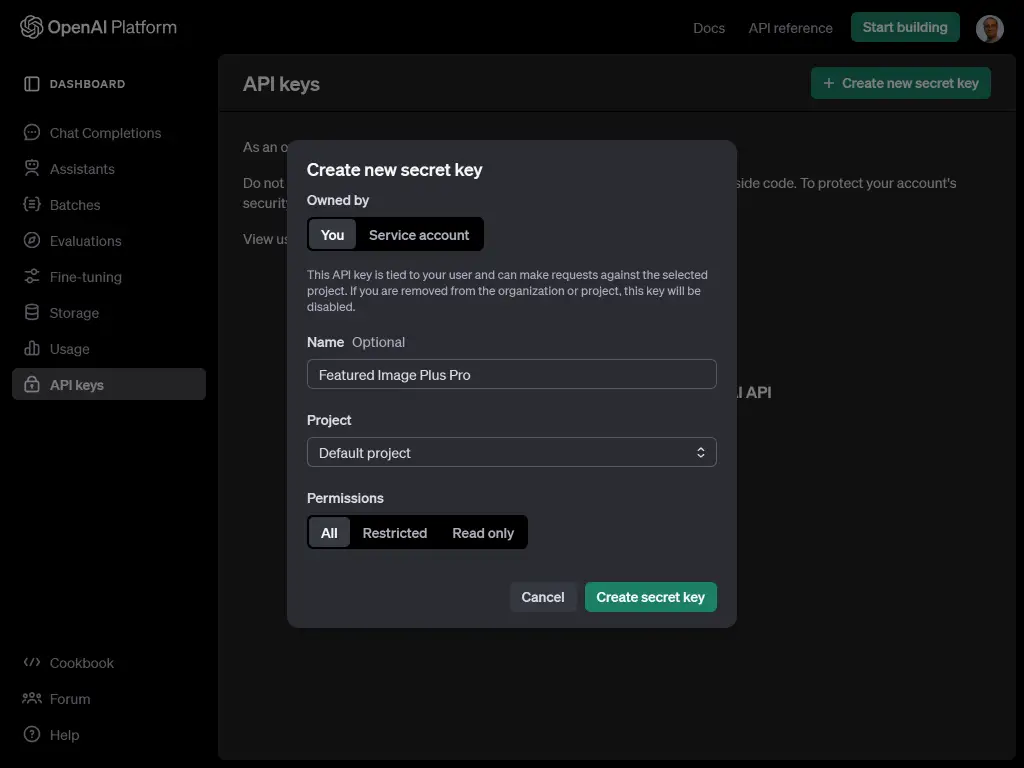
- Click Create new secret key.
- Copy and securely store the generated key. You’ll need this key for integration, and it won’t be shown again for security reasons.

Install and Configure ACF Copilot
Install the Plugin
- Go to your WordPress dashboard.
- Navigate to Plugins > Add New.
- Search for “Advanced Custom Fields Copilot.”
- Click Install Now and then Activate.
Navigate to Plugin Settings
Once the plugin is active:
- Go to Settings > ACF Copilot in your WordPress dashboard.
- Locate the API Key Configuration section.
Add OpenAI API Key to ACF Copilot
- Copy the OpenAI API key you generated in Step 1.
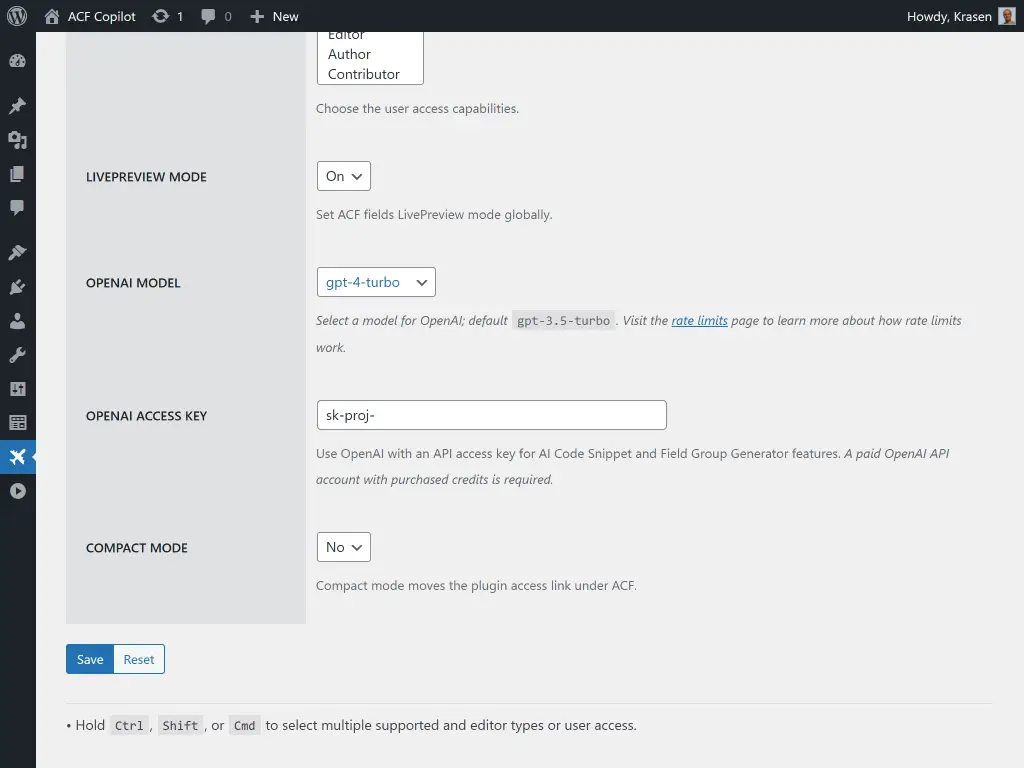
- Paste the key into the API Key field in the ACF Copilot settings.
- Click Save Changes to connect the plugin to OpenAI’s API.

The plugin will verify the API key. Once validated, you’re ready to use the AI features.
Utilize ACF Copilot Features
AI-Powered Code Snippets
With the API connected, you can use the Code Snippets feature:
- Go to any ACF field group.
- Click on the “Generate Code Snippet” button.
- The plugin will provide a tailored code snippet for your specific field group configuration.
This feature helps you:
- Quickly customize ACF fields.
- Follow coding best practices.
AI Field Generator
The AI Field Generator simplifies field group creation:
- Navigate to the Field Generator tab in the plugin settings.
- Input your project requirements, such as the type of fields and structure needed.
- Click Generate Field Group to create a custom ACF field group automatically.
Tips for Using OpenAI with ACF Copilot
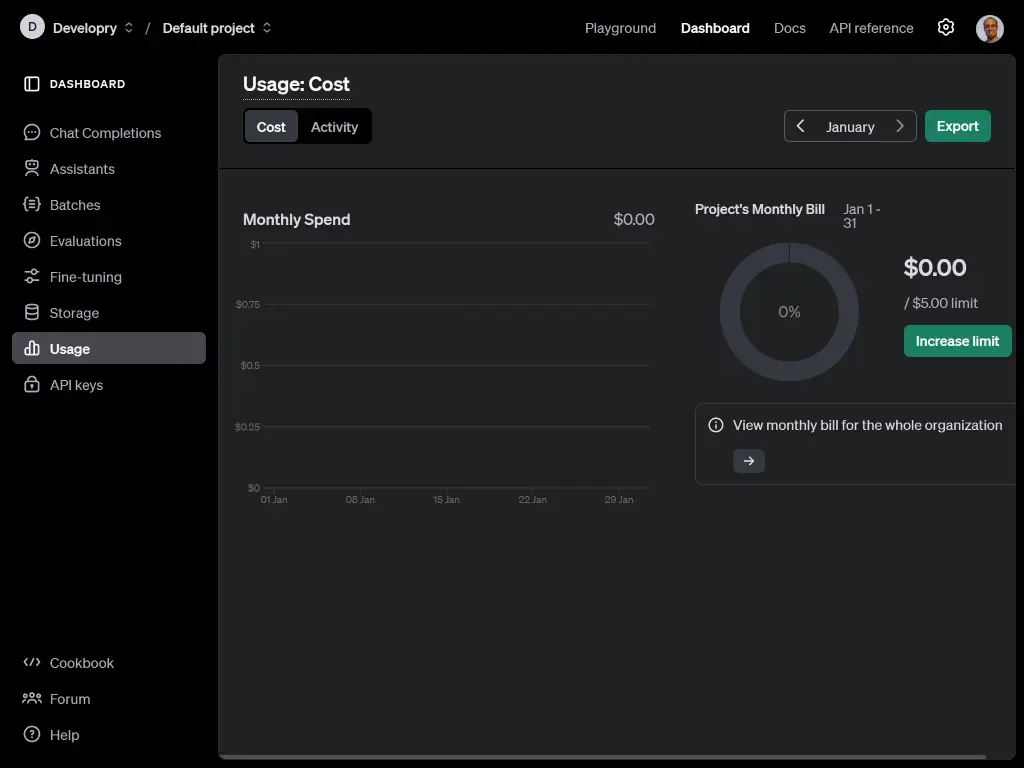
- Monitor API Usage: OpenAI’s API has usage limits based on your subscription. Regularly check your account to avoid exceeding limits.
- Fine-Tune Prompts: Customize prompts in the plugin settings to refine AI-generated outputs.
- Stay Updated: Keep the ACF Copilot plugin updated to access new features and improvements.

Troubleshooting Common Issues
- Invalid API Key: Double-check that the API key is correctly copied and hasn’t expired.
- API Errors: Verify your OpenAI account’s billing status and usage limits.
- Plugin Conflicts: Deactivate other plugins temporarily to identify conflicts.
For further support, visit the ACF Copilot Support Page or the OpenAI Help Center.
Conclusion
Integrating OpenAI’s API with the Advanced Custom Fields Copilot plugin unlocks powerful AI-driven features like Code Snippets and AI Field Generator. By following this guide, you can set up and start leveraging these tools to enhance your WordPress development process.
For more information on maximizing the potential of OpenAI’s API, check out OpenAI Documentation and stay ahead in WordPress customization!

